 Photo from Deposit Photos
Originally Posted On: https://woodiwisspainting.com/guides/ask-woodiwiss-what-should-i-know-about-painting-after-removing-wallpaper/
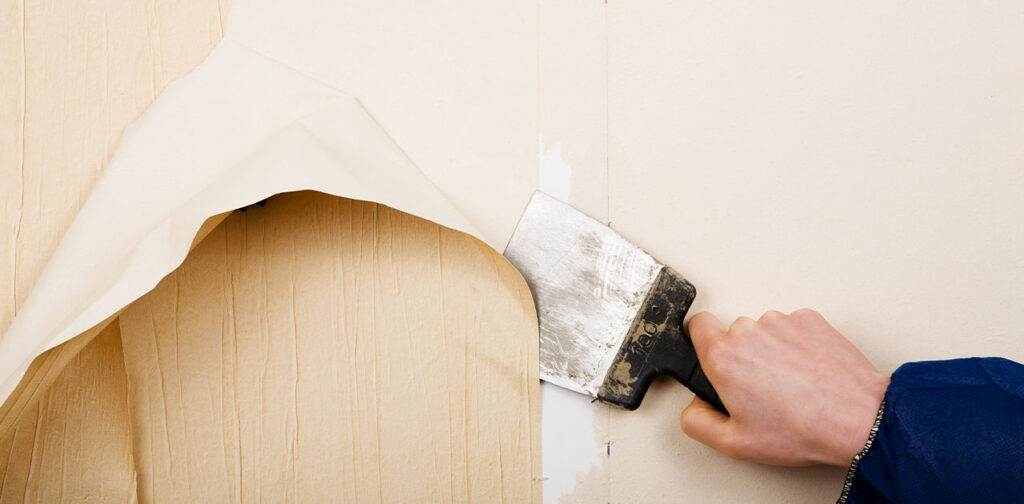
Wallpaper removal is easier when done methodically, giving you a better surface for new paint.
Grandma’s floral prints were nice, and the baby’s room is now home to a teenager—so perhaps now is the perfect time to start stripping wallpaper off the walls and giving it a fresh coat of paint. Removing wallpaper is a job because you need to ensure you have perfectly smooth walls for the new paint job, all while maintaining the drywall underneath. Wallpaper paste residue can be a chore, too, but there are ways to make it easier.
There are two phases. It will take a few days before painting after removing wallpaper:
Phase 1: remove wallpaper
- Prepare the room or area
- Test the wallpaper’s adhesion
- Make a water-based removal solution
- Spray down the walls
- Remove the wallpaper and glue
Phase 2: painting after removing wallpaper
More on wallpaper removal
Prepare the room or area to make it easier
Lincoln’s adage, “Give me six hours to chop down a tree, and I will spend the first four sharpening the ax,” goes well for home improvement projects.
- Take down all the curtains, curtain rods, and hardware.
- Remove all the items from the wall, including old nails and screws.
- Lay a drop cloth down underneath your work area. It’ll save your carpet or hardwood from glue residue.
- Remove all the switch plates, electrical outlet covers, and grates.
The extra few minutes you spend taking these items out of the room will save you twice as much time removing wallpaper.
Test the wallpaper’s adherence to the wall
Depending on the age of your wallpaper, the climate you’re in, and how prior contractors originally installed the wallpaper, you might be able to just pull it off the wall.
Start in a corner or seam, or find a spot already starting to peel. Areas near vents, grease spots, and corners are common starting points.
Gently pull on it, readjusting your grip to see how easily it comes off. If it comes off in nice, big chunks without tearing the underlying drywall paper, keep going.
Make a wallpaper removal solution
If you can’t pull off the wallpaper naturally by hand, or some stubborn wallpaper sticks to the walls, get a pump sprayer. The kind you use for outdoor weed spray is fine—just make sure it’s unused. You do not want to expose your home’s interior to pest or weed control chemicals.
Fill the sprayer with hot water from your sink and the other half with boiling water from a kettle or stovetop.
Spray down the walls with your removal solution
Use the sprayer to saturate the wallpaper. Try to do it evenly without dripping, though some will be inevitable. The wallpaper should begin buckling, allowing you to pull on it again.
If the hot water isn’t working, add an unscented fabric softener to the solution. A 1:1 ratio of softener to water will work to soften wallpaper adhesive. For stubborn spots, a carpet or upholstery steamer with a long hose attachment is also worth considering.
Remove wallpaper glue
Scrape the wall surface with a wide putty knife to remove excess chunks of paper and all the glue. Just be careful not to scrape into the underlying wall.
- Wear gloves to protect your hands from the warm water and remaining residue.
- Always start at the seams or any bubbling section that’s already releasing naturally.
- You may have to refill your water sprayer solution several times with hot water. Use a tiny amount of tri-sodium phosphate (TSP) in your hot water mixture to wipe down the walls with a sponge. TSP is sold in most hardware stores under the same name.
- Do one entire wall at a time, and only spray and wipe down as much as you can reasonably pull, wipe, and scrape at a time.
Wait until every inch of the walls is dry. After removing wallpaper and glue, your walls should be smooth, except for any holes left by prior damage or hardware.
More tips on how to start painting walls after removing wallpaper
Sand the walls to remove rough spots
Lightly sand the walls with a hand sander to ensure every inch is smooth. Run your hand over the walls to find any invisible wallpaper glue, gnashes in the drywall, or other debris.
Tape plastic over baseboards, trim, and crown moulding to protect them from dust and sanding. You can leave it up to help protect them from paint, too.
Patch holes and scrapes
Large areas of damage—either from things hanging on the walls, cracks, or wear and tear—must be patched. Drywall mud applied with a putty knife works best. For extremely large holes, use drywall repair sheets and paste them over them with drywall mud or joint compound.
Prime the walls
On a smooth, dry, surface apply a high-quality latex primer. Applying with a roller is best, but a paintbrush can also work.
Many people skip this step, but using the best primer will make the paint adhere to the walls after removing wallpaper. Primer is also cheaper than paint, so spend the money on the primer to save money on the paint. A good latex or oil-based primer is available at any hardware store and is something we don’t skimp on in our work.
Paint walls with a roller
Apply a skim coat of paint after the primer is dry, then a second coat of paint. The second coat of paint is another step people sometimes want to skip, but the results are astoundingly better with two. Your results will last twice as long and look twice as nice if you do.
Want to skip removing wallpaper and let the pros do it?
Stripping wallpaper is a big job. Have the pro painters at Woodiwiss give you a free estimate on removing your old wallpaper and painting your home’s interior. We’ll handle all the sanding and remaining glue for you, too. You’ll save tons of time and reclaim your weekend or vacation time.
Call (925) 690-1463, email info@woodiwisspainting.com, or message us online.